raku process 2008
Raku
This course was taught by Rob through the Sarratt Student Center at Vanderbilt, but took place at the University School across the street.
The raku clay we used was lighter and had a finer grit than the denser, red stoneware I have used previously. It feels a little more fragile as it's being worked on the wheel. Someone in the class compared it to throwing cream cheese.
One of the materials I hadn't used before was terra sigillata. This is like a very fine slip, having been thoroughly ground to remove any grit. It can be applied to leather-hard pieces with a brush, and then rubbed in by hand. Raku is very porous in general, but several applications of the terra sigillata can make the surface more smooth, shiny and water tight. I also used it on the bottom of several pieces to reduce the possibility of the feet scratching the surface of whatever piece of furniture they would be set on later in life.
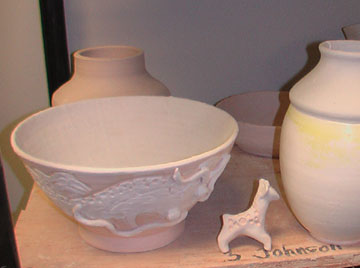 Bisque firing was as usual. We put it on a shelf and came back later after someone had done it in the regular classroom kiln, and the pieces had gone from a raw light brownish green to a light pink. When the clay is fired yet again, it will be white. So, anything that we wanted to stay white we protected with a clear glaze. We also had red (sometimes green) and yellow (sometimes also came out white) glazes with which to work.
Here you can see the dragon bowl from this session, bisqued and glazed. We ran out of time for the finish firing and a lot of people had pieces that they just could not get to. Alas, we may never see this bowl in it's finished form.
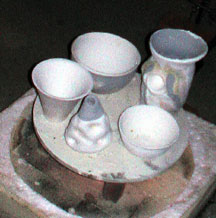
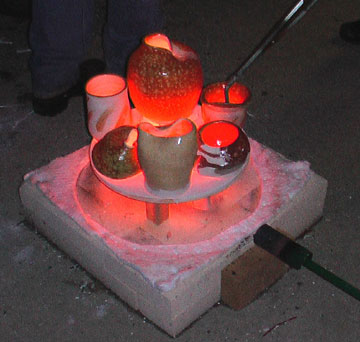
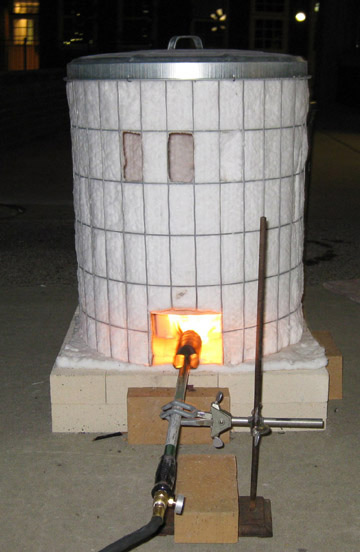 The raku kiln is definitely a new thing for me. It is essentially a garbage can lid atop a wire cage. The 'cotton batting' is actually spun clay, with astonishing insulative properties. It is only a half inch thick, but when all the clay inside is so hot that it's glowing, you can still touch the side of the kiln with your bare hand. As you can see, it's a very small setup, with only the one shelf, so we could only do so many pieces at a time.
The flame thrower at the bottom is fueled by the nearby propane tank. (We had trouble with a few firings when it would freeze up.)
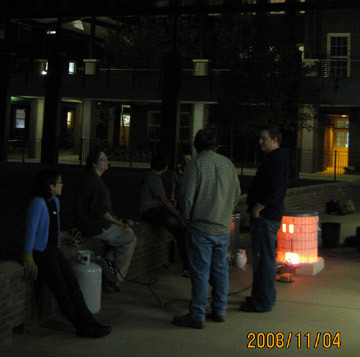
There was a lot of waiting. There's not much to do as the pieces are heating in the kiln. On average, it took an hour for each load to fully heat up.
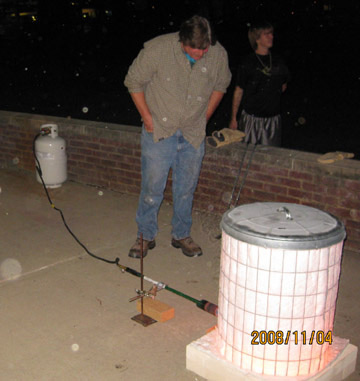
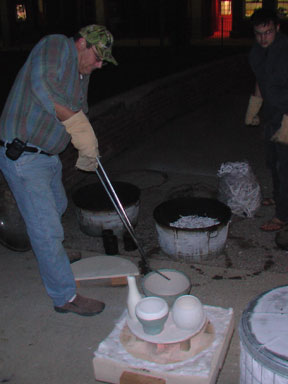
Here's the instructor, Rob, checking to see if they're ready to pull out, yet.
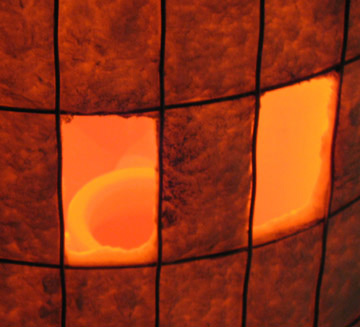
Rob is looking through the couple of air holes. At first, the glaze puffs up, looking like cottage cheese. Then, as it becomes hotter, it smoothes out and coats the piece. After all the glaze has attained a smooth sheen, the pieces are ready to be unloaded.
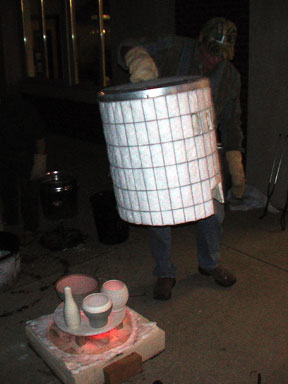 When the pieces are ready, the flame is turned off, and the top of the kiln lifted and put off to the side.
The pieces are glowing red and must be handled with tongs.
There are two choices for treatments at this point (at least for this class). The pieces can be reduction smoked in paper or wood chips, or set aside for the horsehair treatment.

Here you can see the pieces chosen for reduction smoking being placed in the metal tub with shredded paper (sometimes we used wood chips). As one person is unloading, another is adding more material on top of each piece.
Smaller pieces are placed in tin cans within the larger tub. This helps us find them later, and holds the materials closer to the pieces so the deposit of carbon is more even.
(The person unloading the kiln is Hans. Half of these photos are his.)
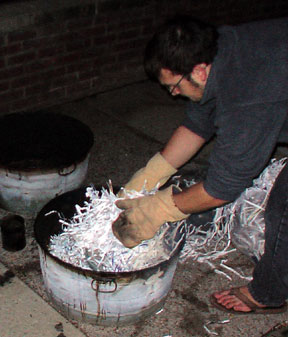
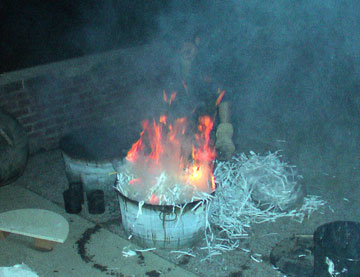
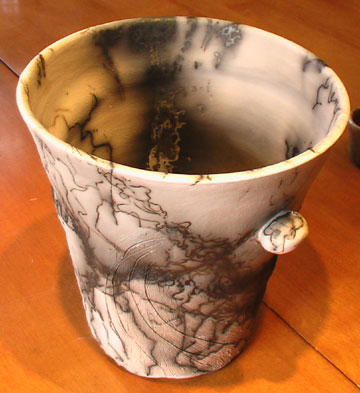
The pieces are still so hot that they cause the packing materials to combust. After everything is loaded in, the entire thing is covered with a lid. This cuts off the oxygen, and the heat reduces the materials inside. Every unglazed surface turns black with carbon. The glaze 'crazes' from the rapid change in temperature, and the cracks themselves are brought out in stark contrast as the thin lines of exposed clay are also outlined in carbon.
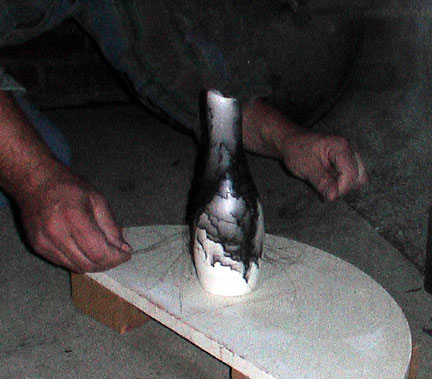
Rather than placing the hot pieces in bins, one can instead set them aside on a waiting kiln shelf and apply horsehair. Timing is critical. If the horsehair is applied too soon, it will vaporize and leave an indistinct black cloud. If it is applied too late, the hair will burn, but will leave only faint marks, if any.
The horsehair is very straight and coarse, but the intense heat causes it to crinkle up in the aesthetically pleasing ways seen at right.
This technique looks great, but smells terrible.